
Zen Track Installation Guide
Installed in 12 simple steps.
Scroll through the guide below on your phone while you work, or download the printable PDF to keep on hand. Each step is illustrated with a photo so you always know what's next.
Before you start: installation involves connecting to your electrical supply. Work must be carried out by a licensed electrician in accordance with Singapore regulations. Always isolate the circuit at the distribution board before you begin, and do not restore power until installation is complete.
What you'll need
- Licensed electrician
- Spirit level
- Screwdriver
- Wire strippers
- Pencil
Unbox your Zen Track
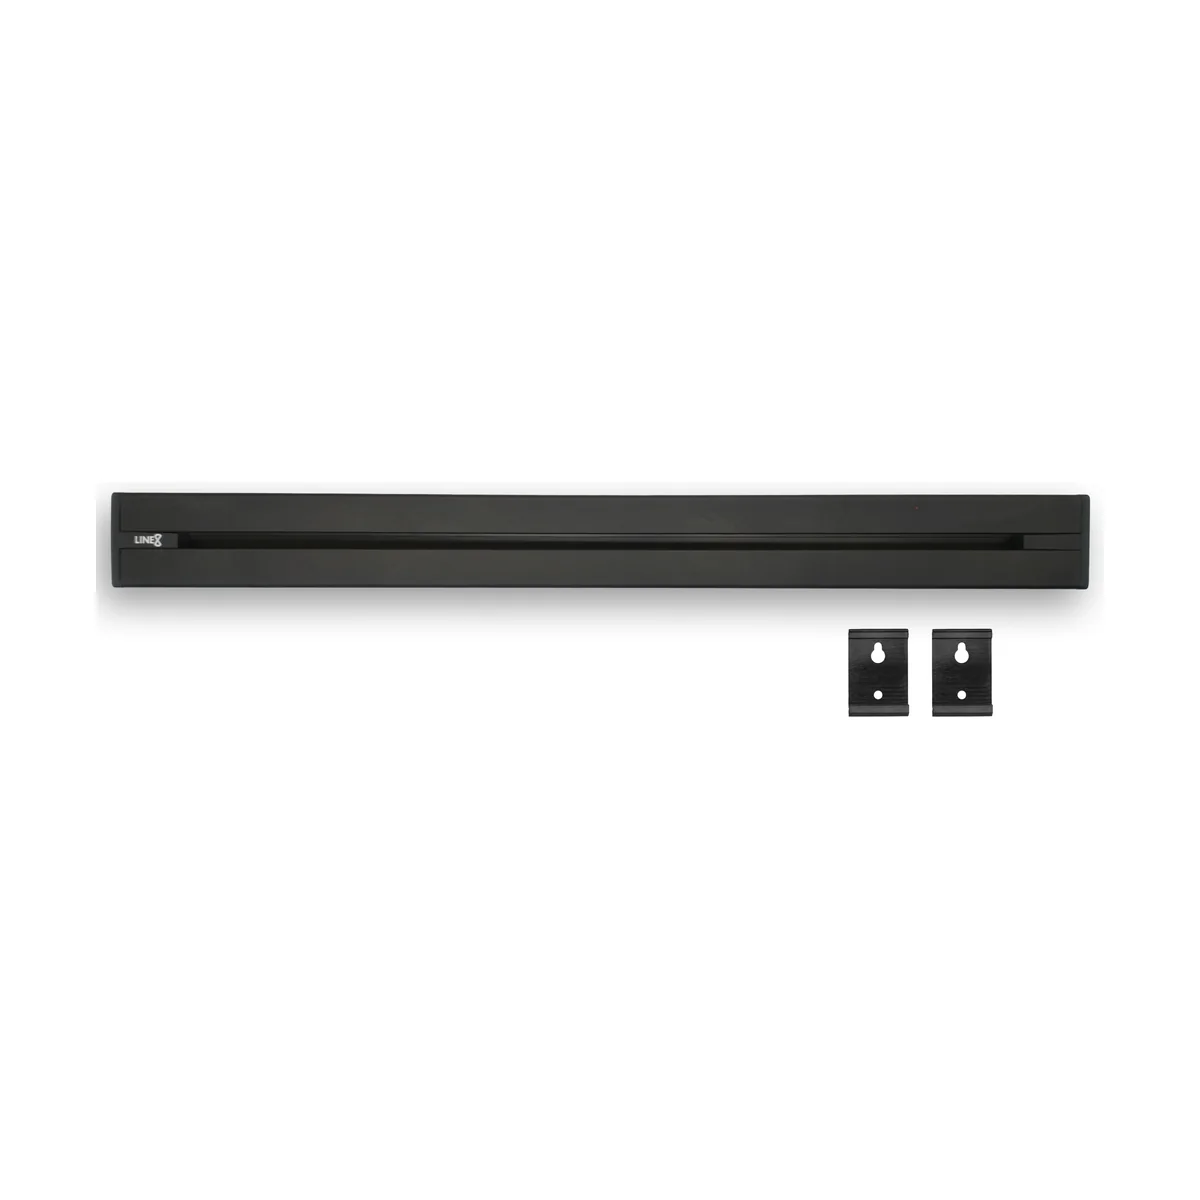
Open the box and check the contents: the track, two end caps and retaining clips. Confirm the length matches your order before you begin.
Mark and mount the retaining clips
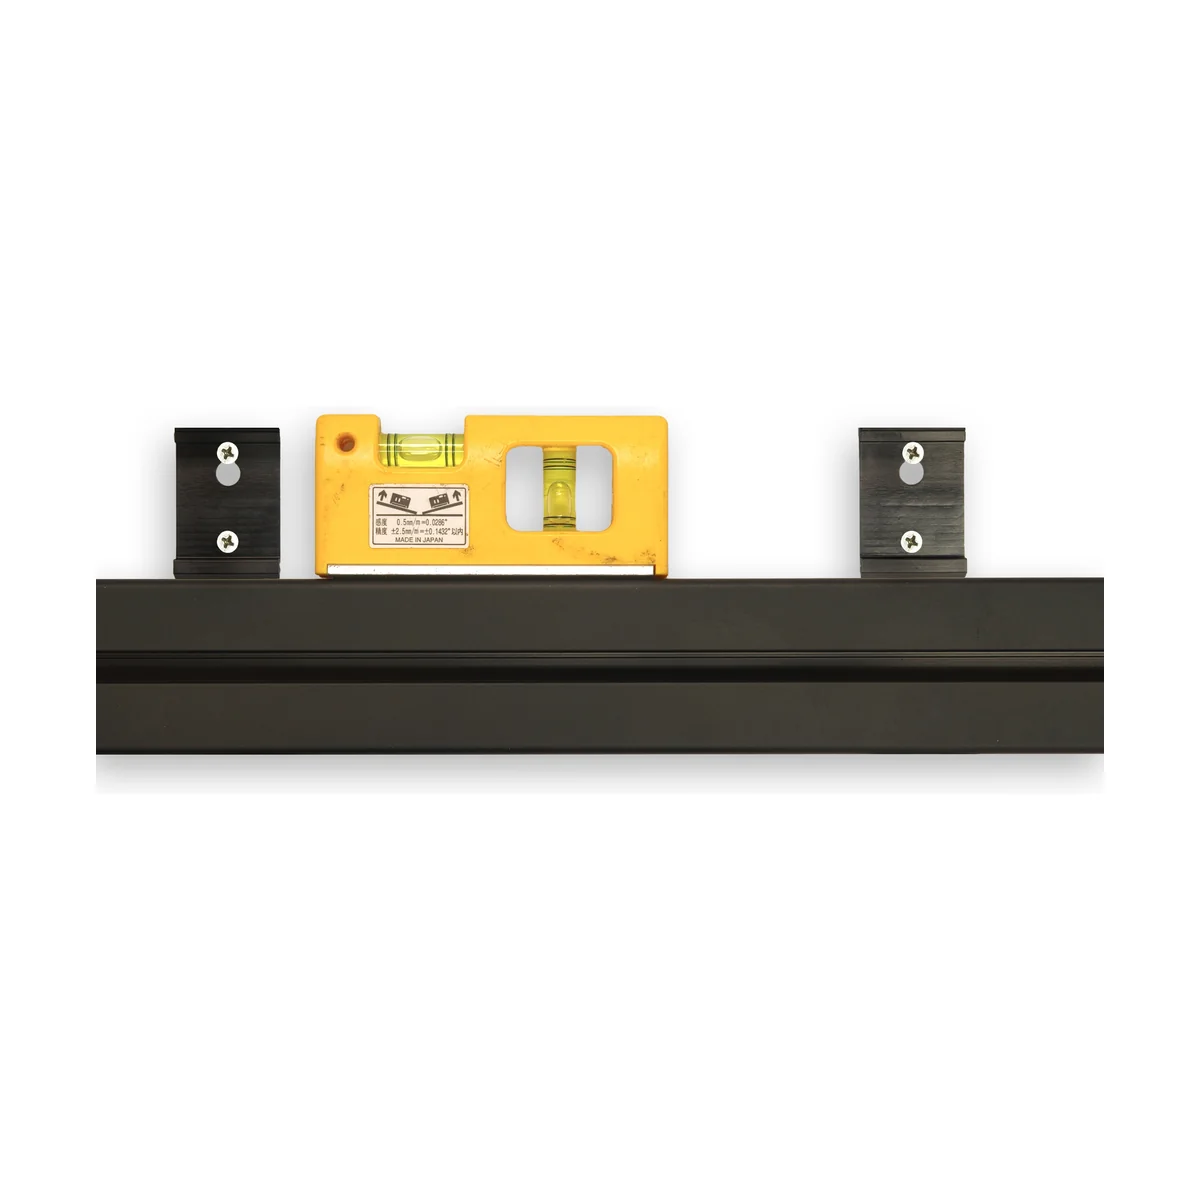
Here, the track itself is used as a straight guide, with a spirit level on top to keep it level. Mark the clip positions, then fix the retaining clips to the wall.
Mounting on concrete? Pre-drill and plug the wall before driving the screws, so the retaining clips fasten securely.
Unscrew the entry-side end cap
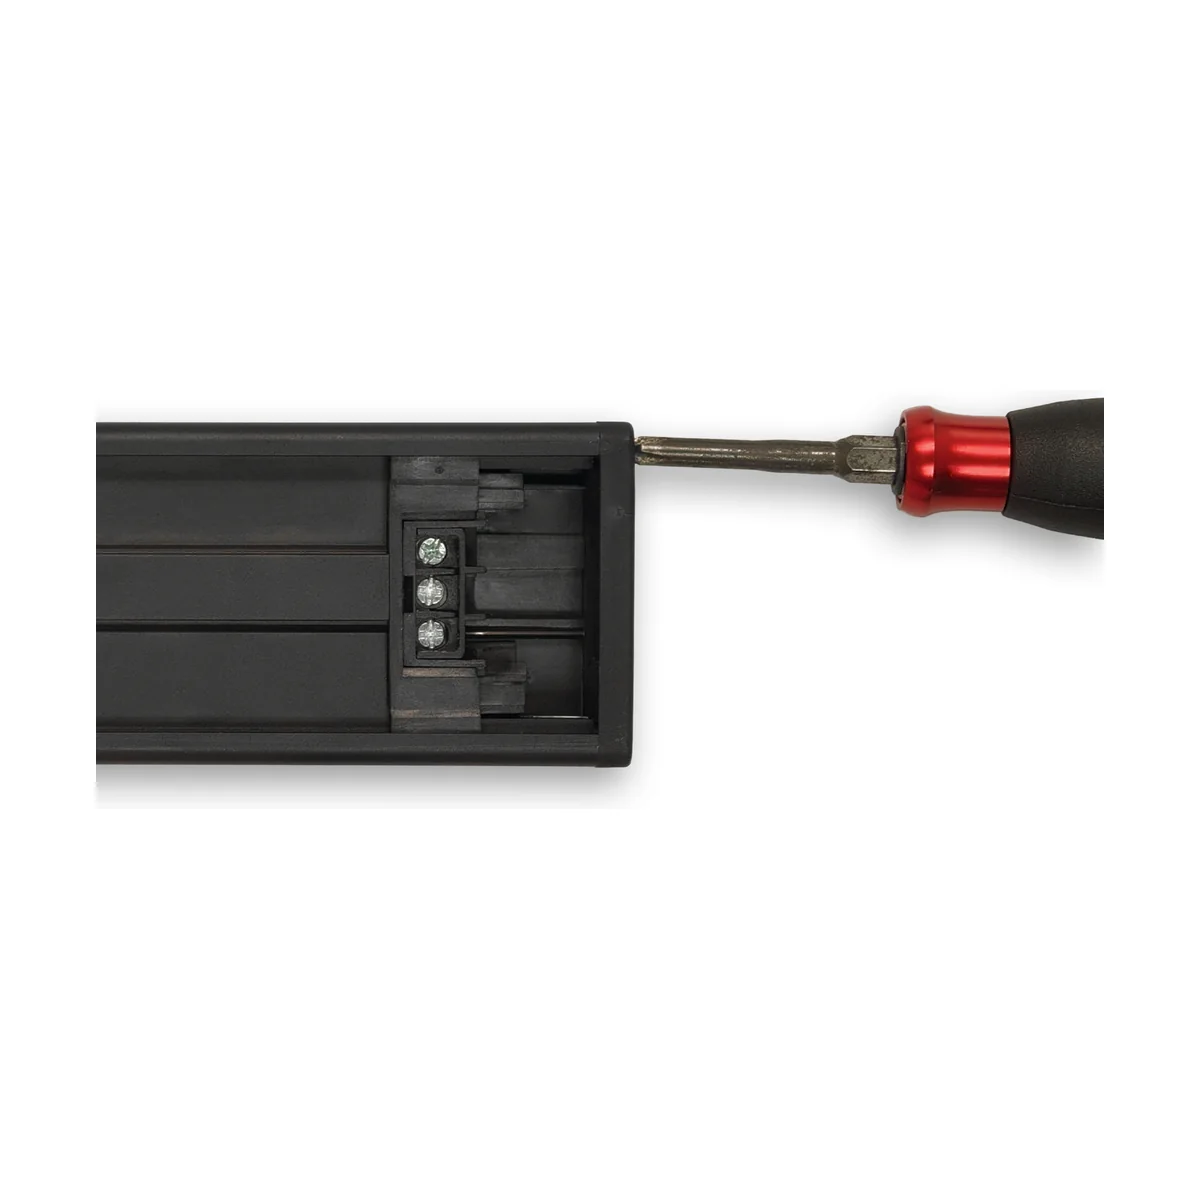
Decide which end the incoming supply cable will enter from. Unscrew the end cap on that side of the track.
Remove the end cap
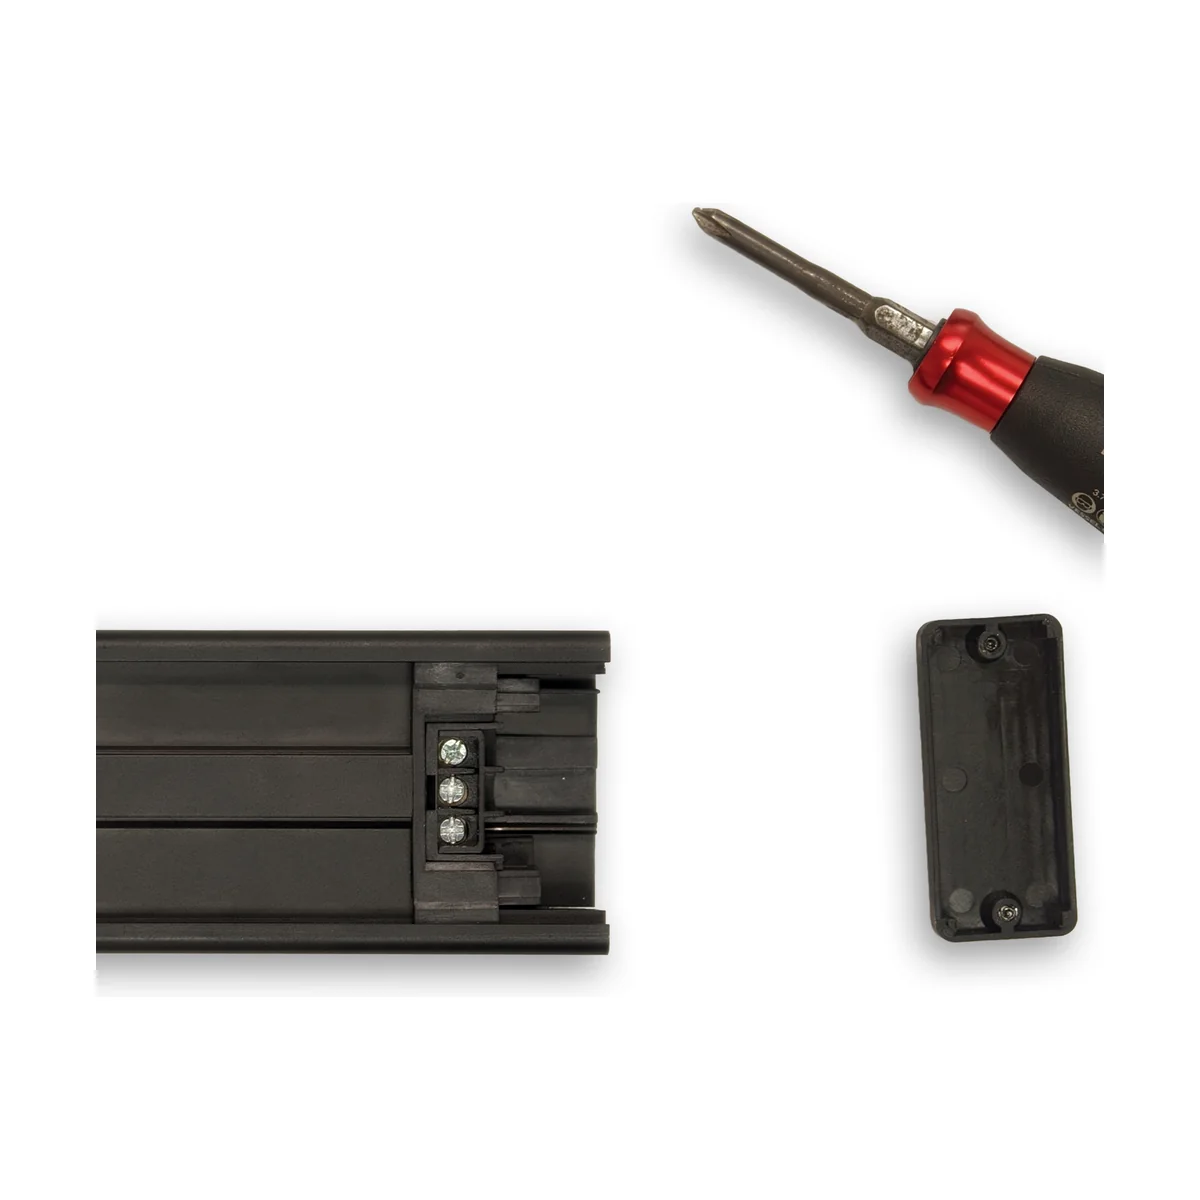
Gently pull the end cap away from the track core to expose the terminal block inside.
Prepare the incoming cables
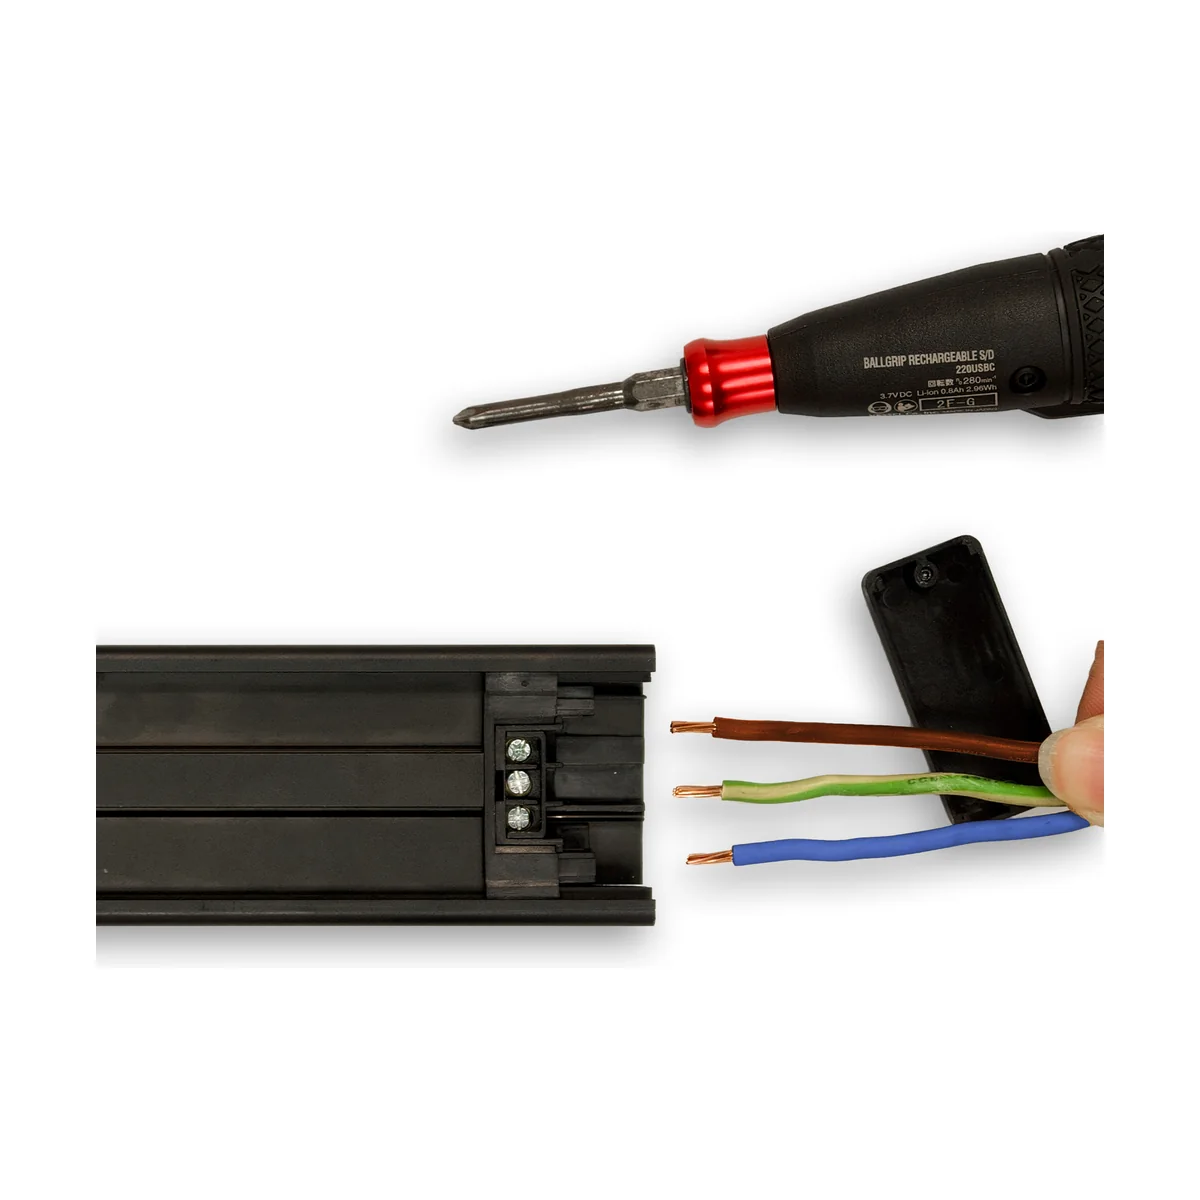
Strip 5 mm of insulation from each incoming supply cable, ready for termination.
Connect the supply cables
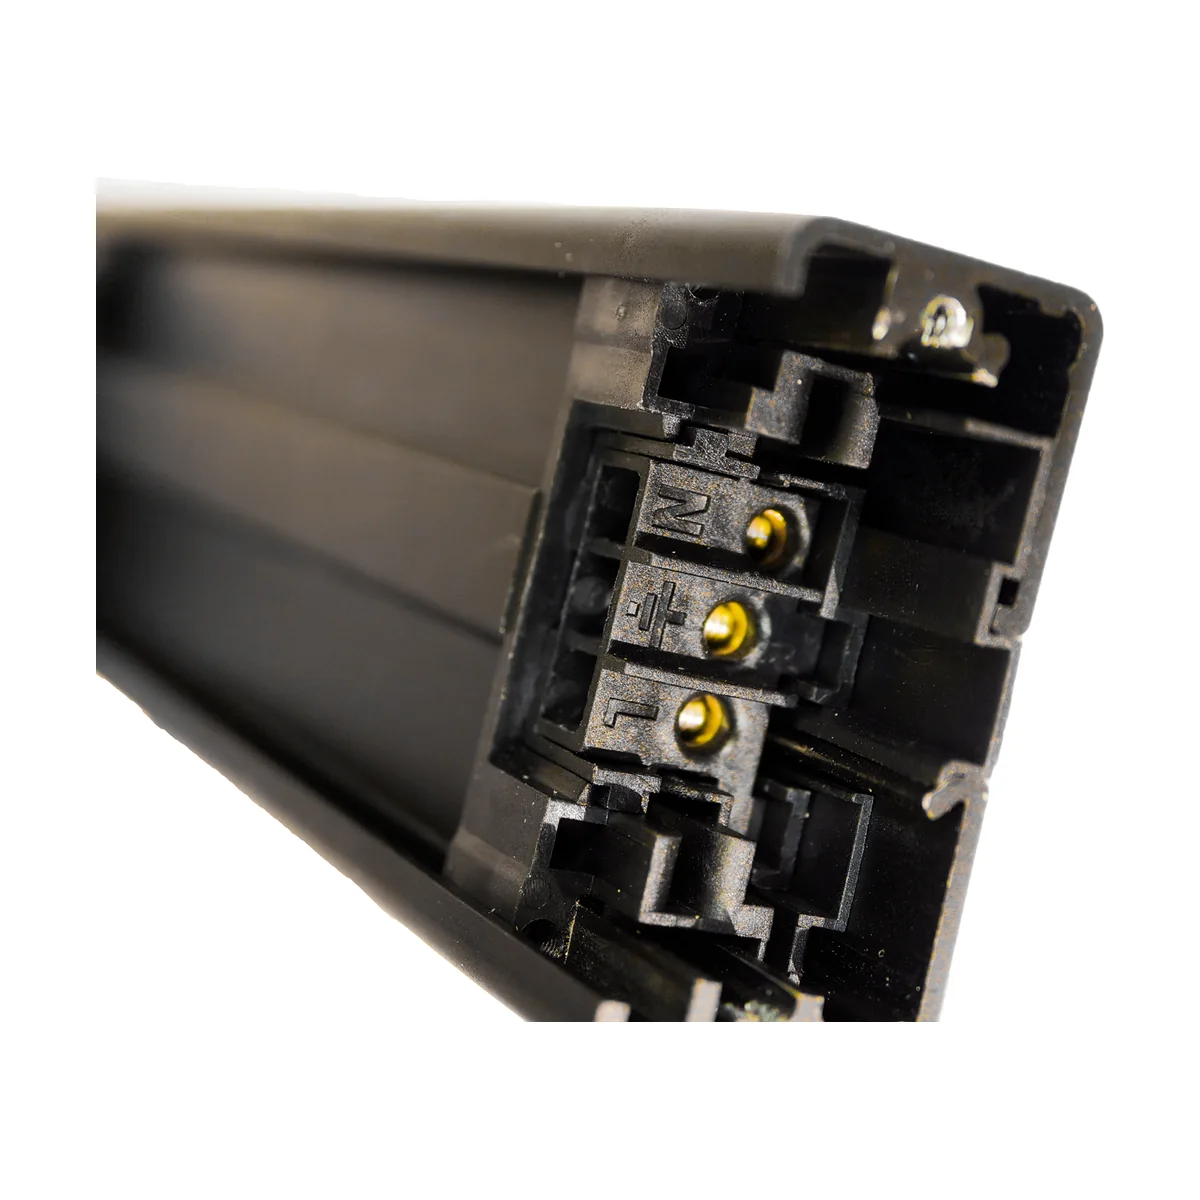
Following the cable termination markings on the terminal block, connect the incoming supply cables to the correct terminals.
Secure the cables to the terminal
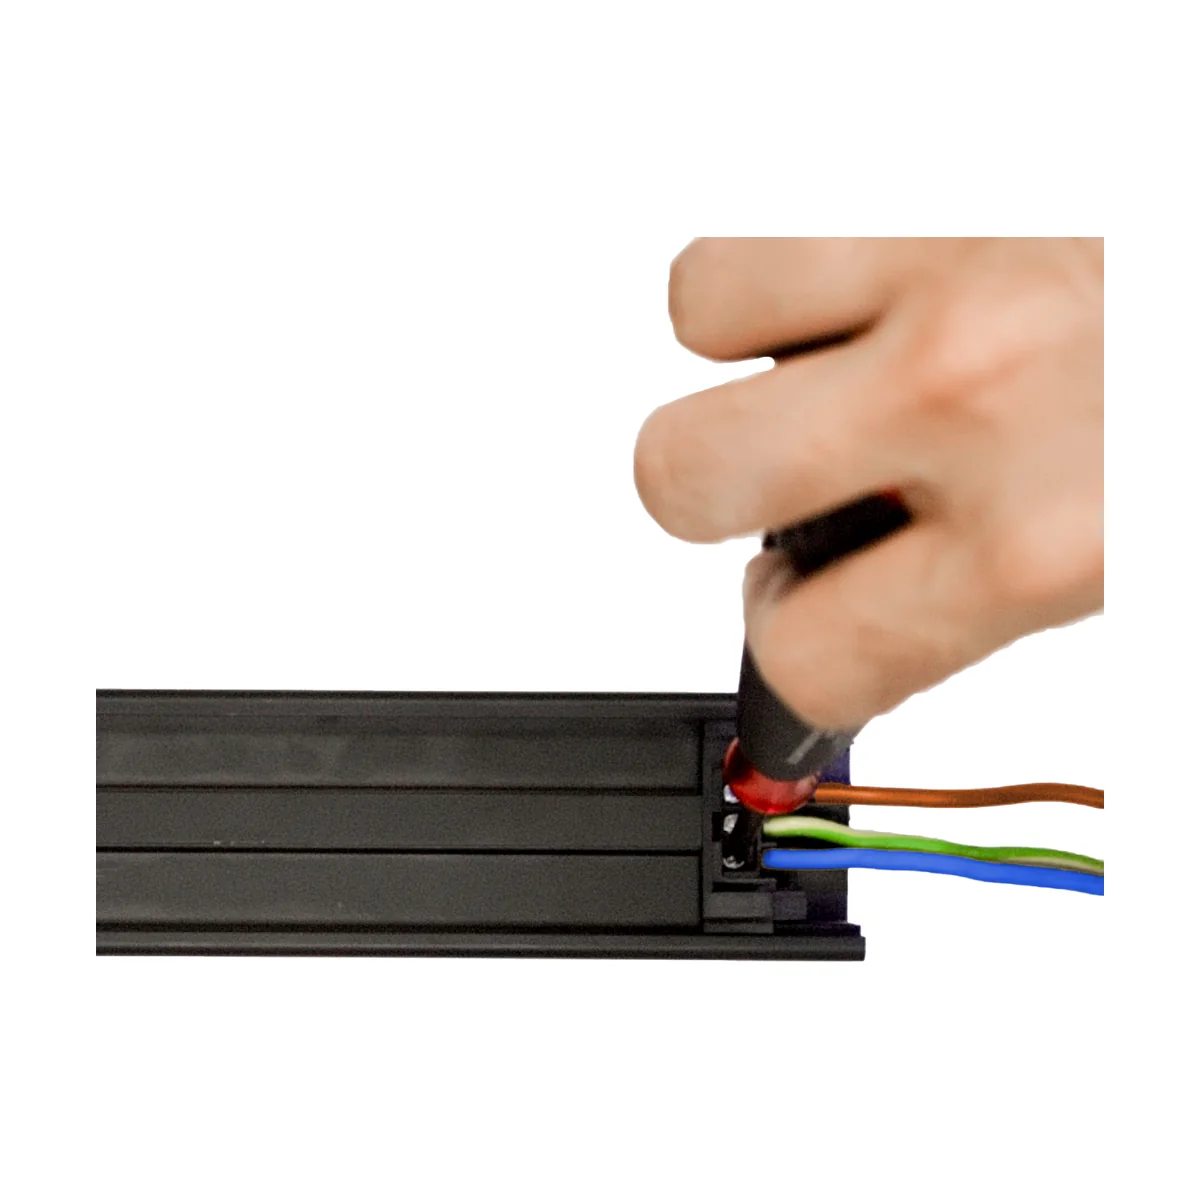
Tighten each terminal screw firmly so every cable is held securely with a solid electrical connection.
Hang the track into the retaining clips
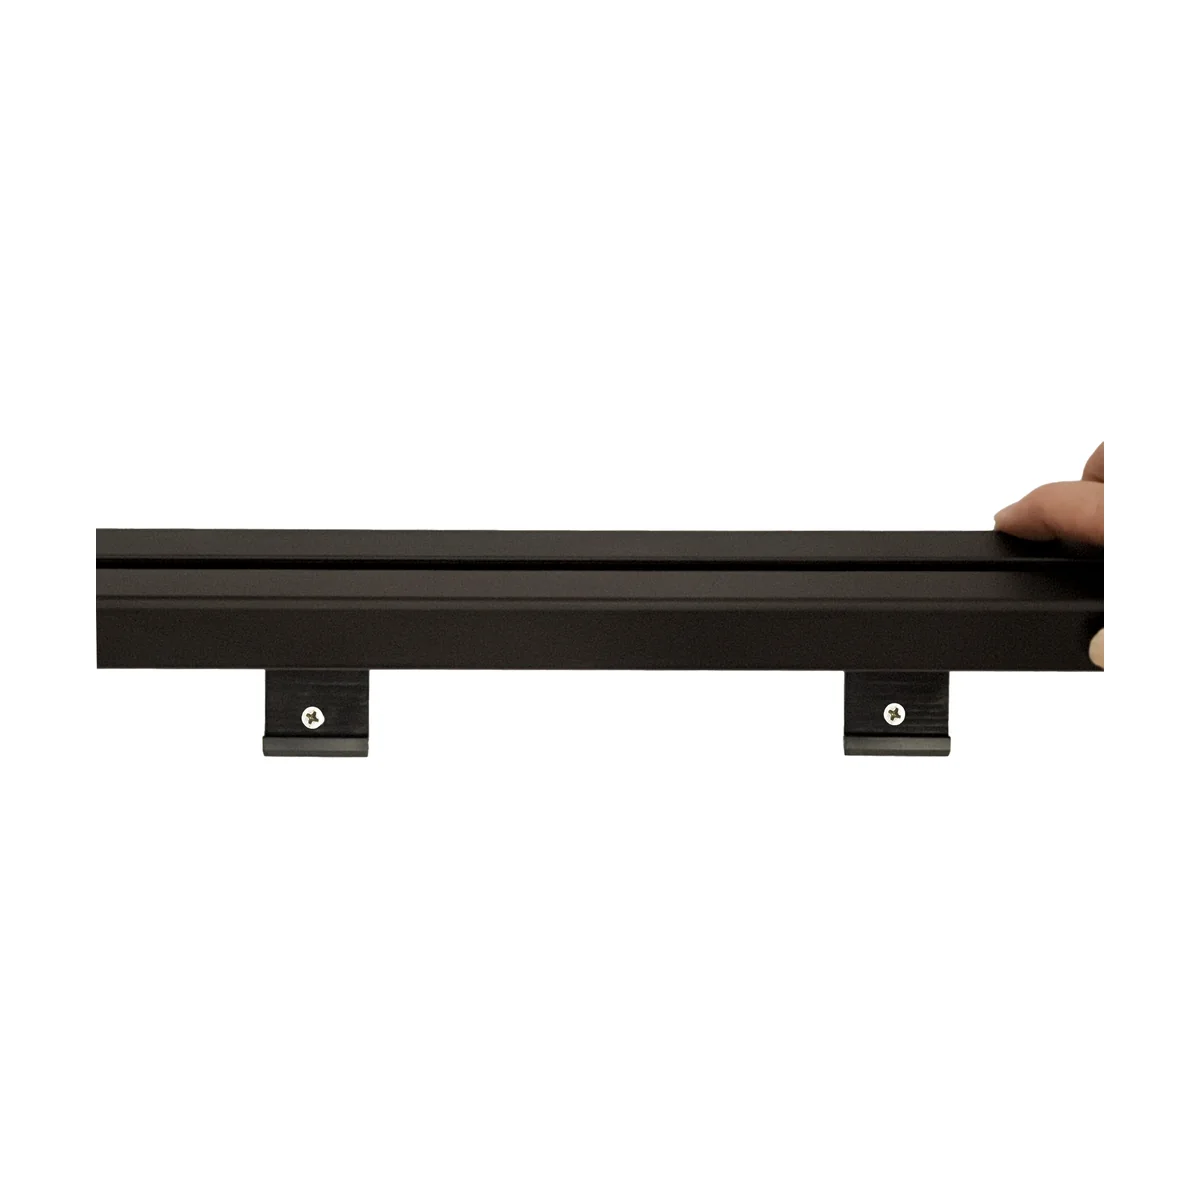
Lift the track into position and hang it onto the retaining clips mounted on the wall.
Reinstall the end cap
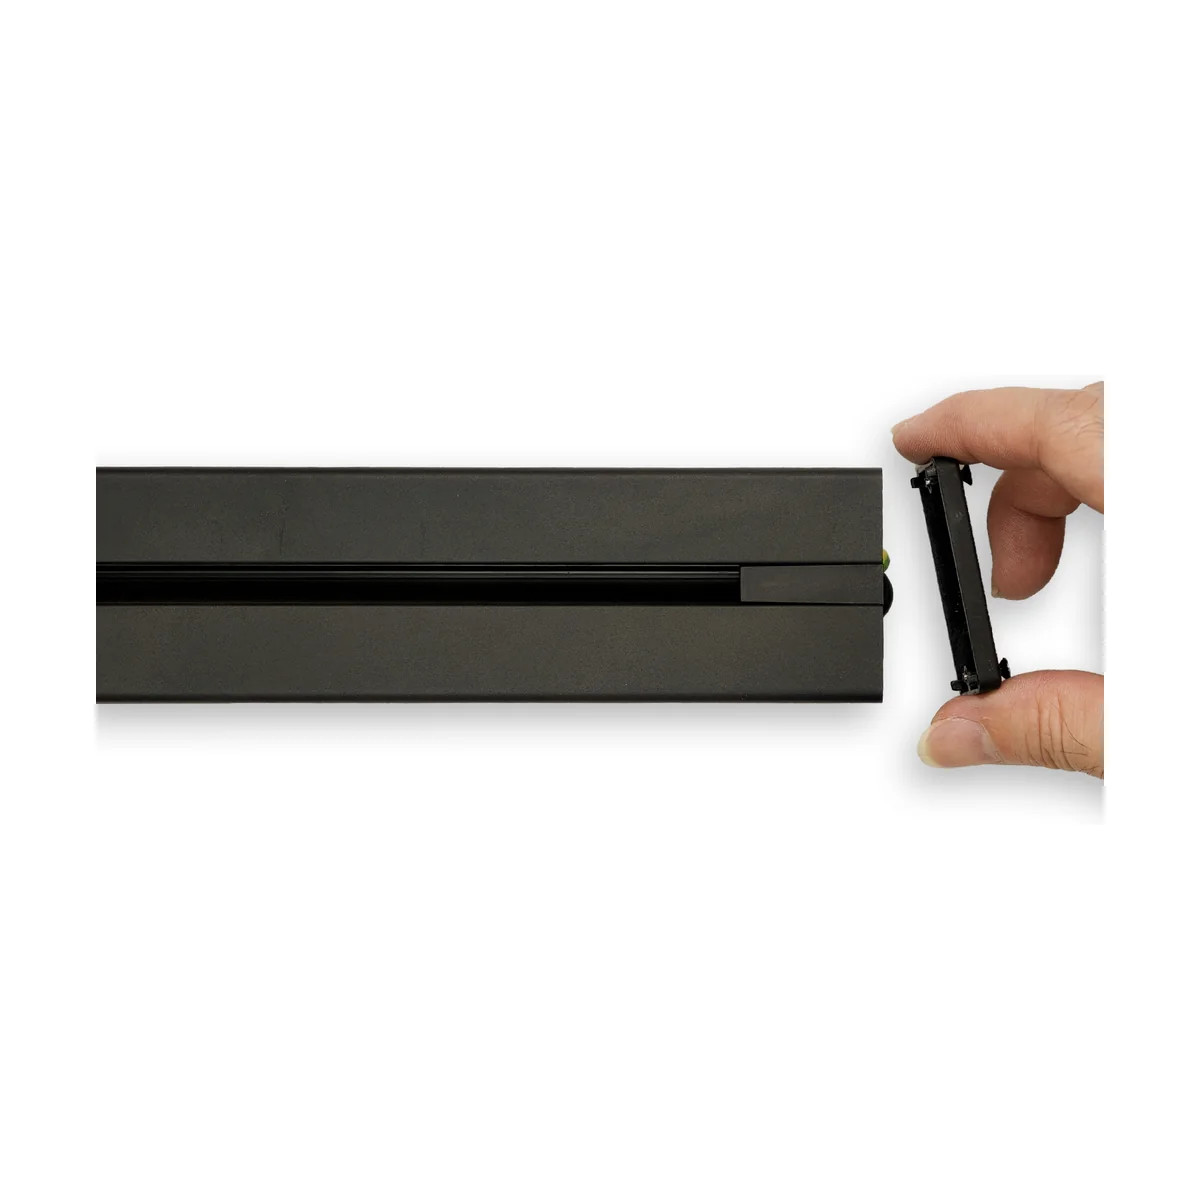
Fit the end cap back over the terminal block, tucking the cables neatly inside.
Secure the end cap screws
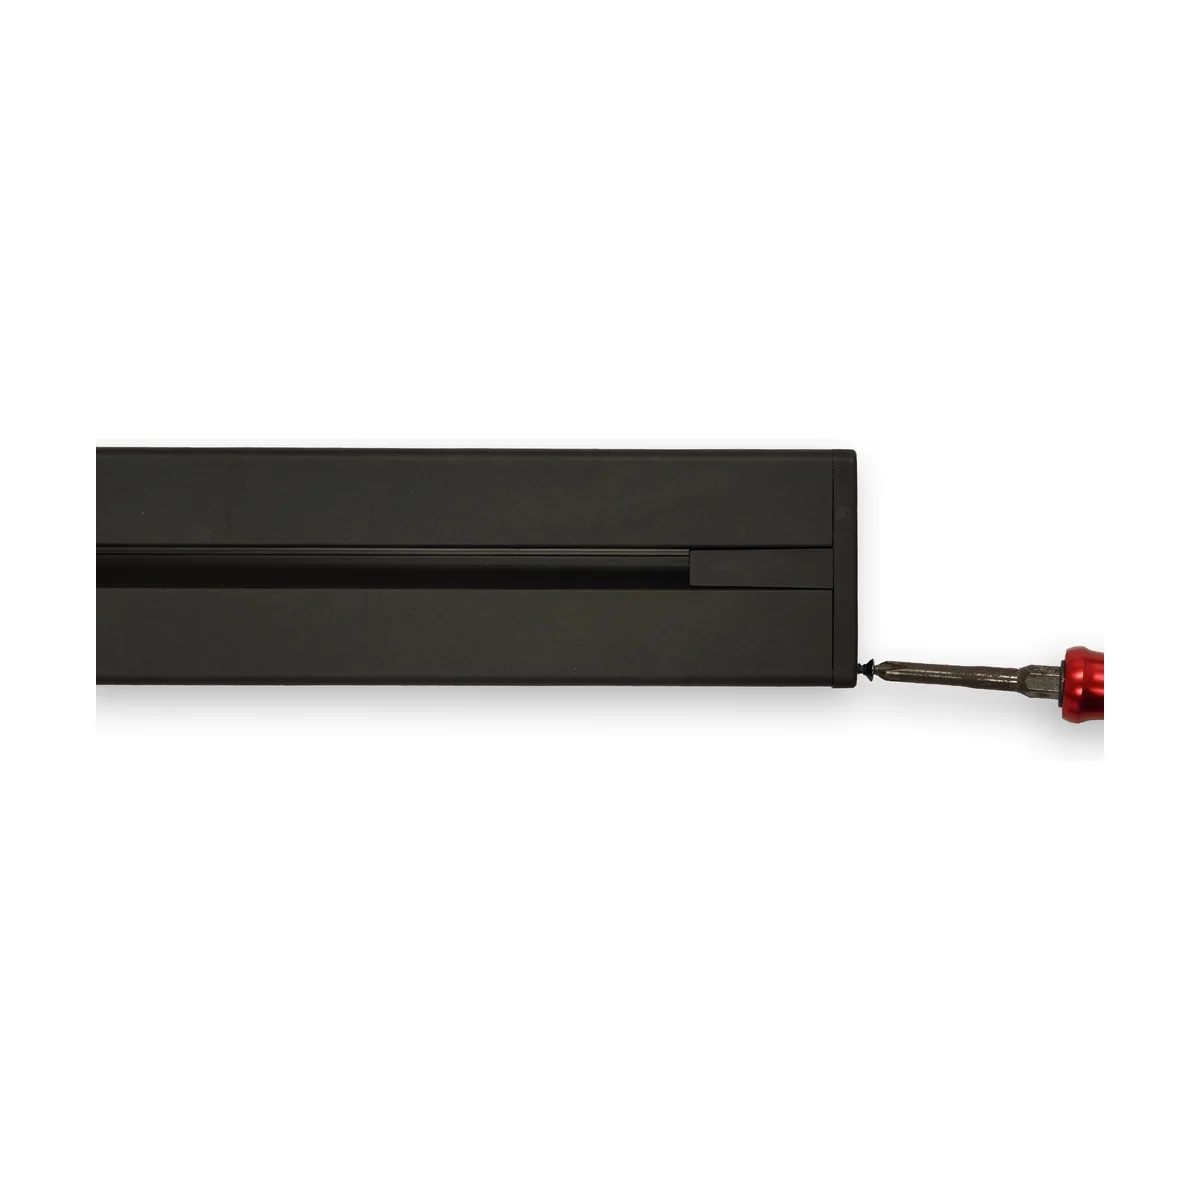
Screw the end cap firmly back into place to fully enclose and protect the wiring.
Secure the track to the clips
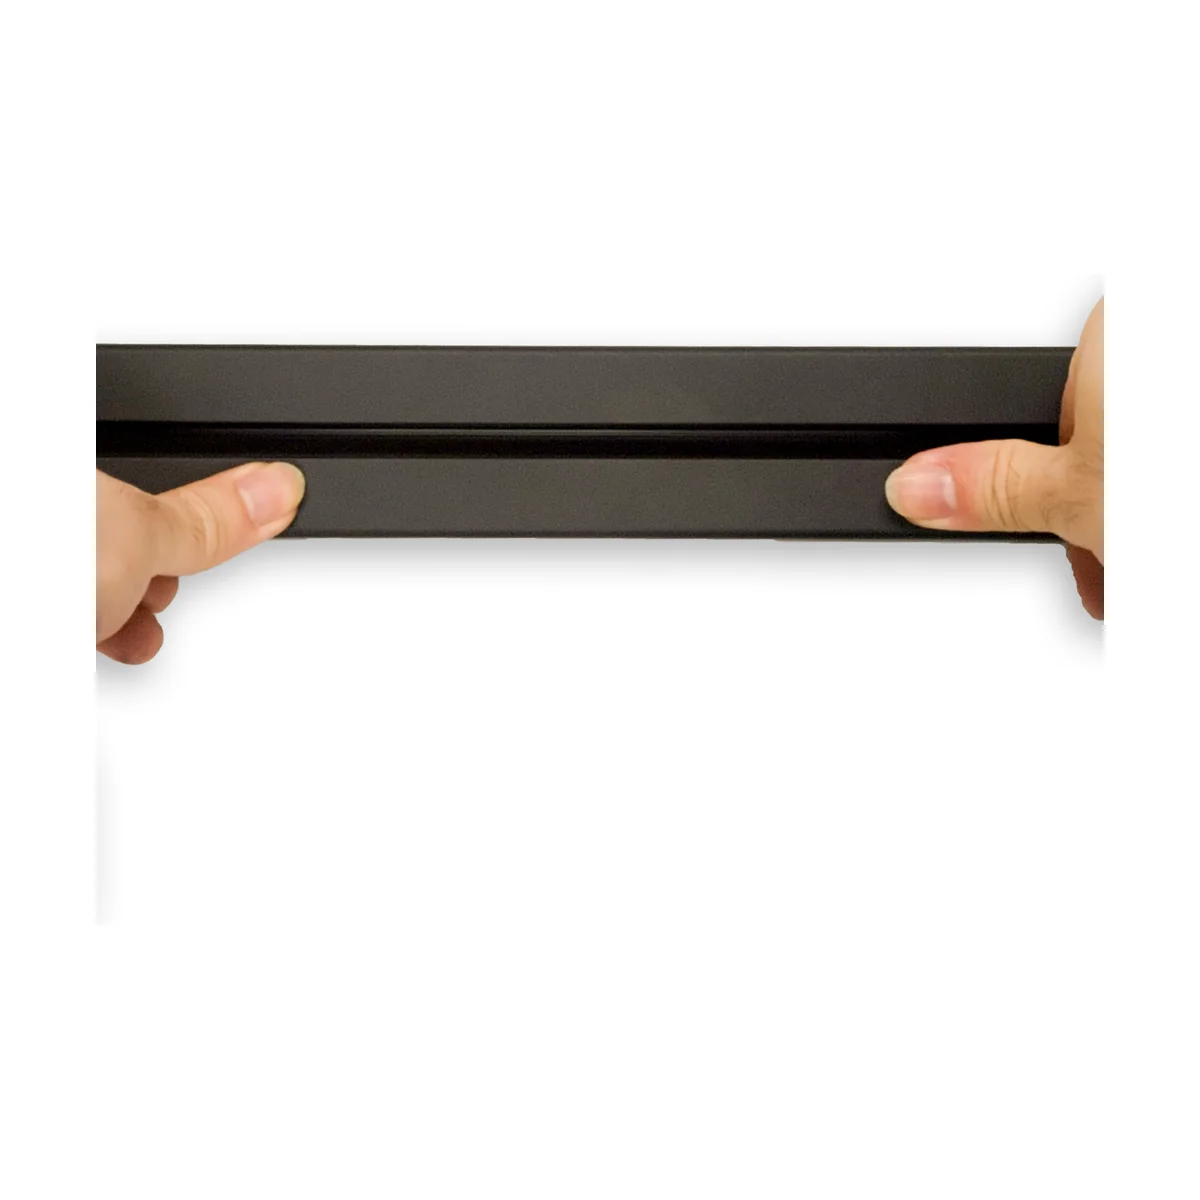
With firm, even pressure, press the track fully home into the retaining clips along its length until it clicks into place.
Ready to use
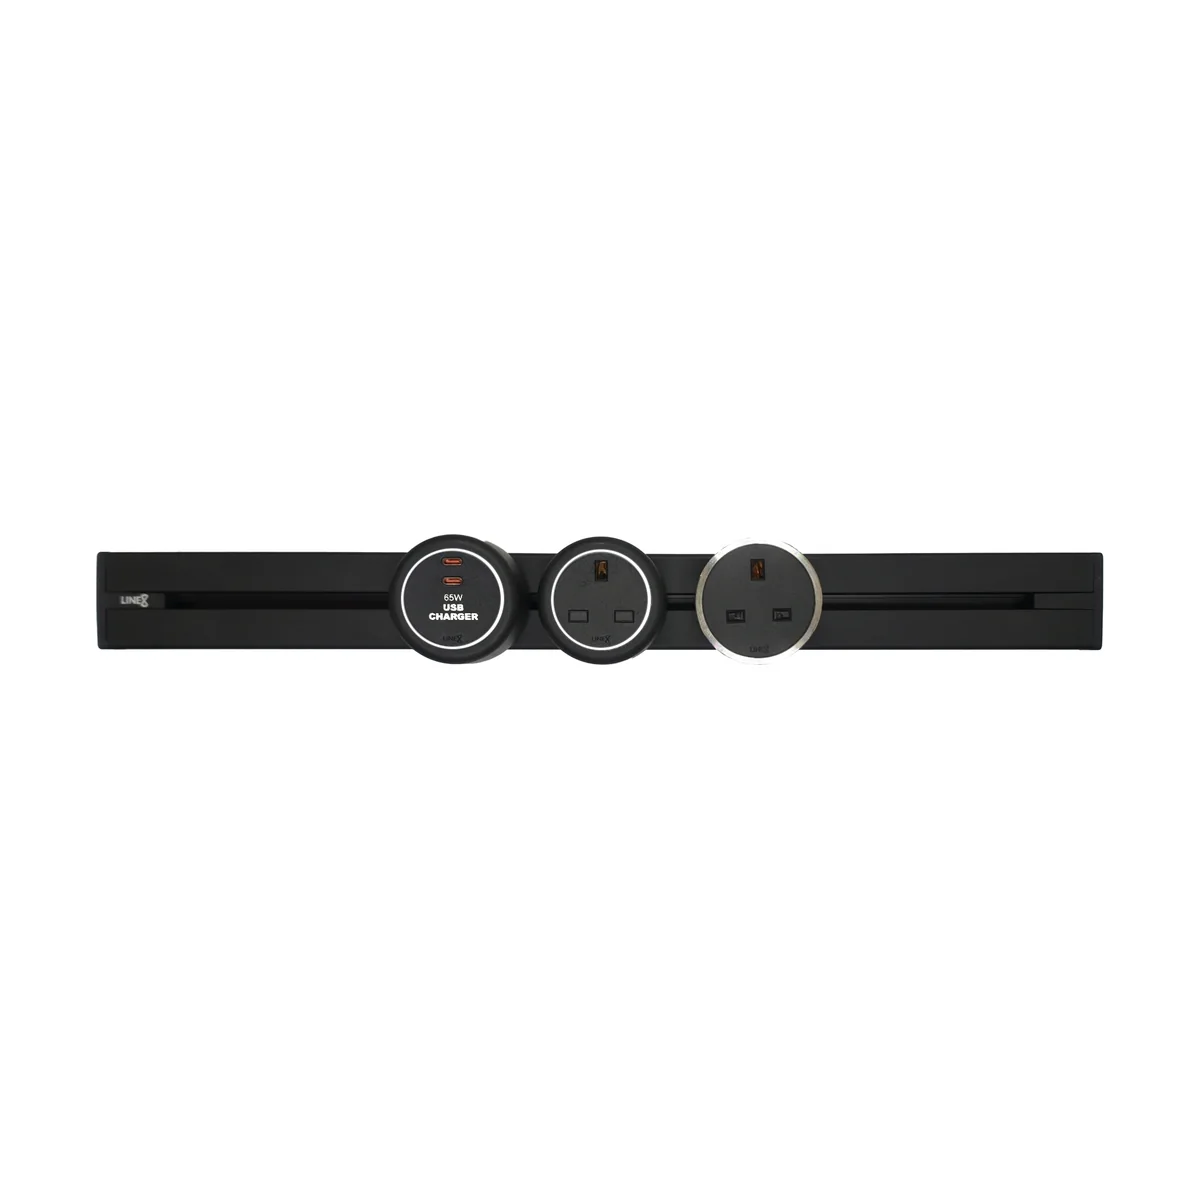
Your Zen Track is installed. Restore power at the distribution board and it's ready to use.
Need a hand?
Our team is here to help with your installation, or to answer any questions about your Zen Track.